
High altitude growing comes with its challenges. Want to learn how you can start seeds at high altitude successfully? Read on to learn how a bit of preparation before planting your garden will set it up for success right from the start! While it might seem like it’s too soon to be thinking about starting seeds, now is actually the perfect time to get your indoor ‘greenhouse’ growing! You, too can have a beautiful and bountiful garden this summer!
High Elevation Challenges

Let’s face it… We chose to live in, or around, the mountains for a million reasons, and being able to grow Palm trees is not one of them. Here we are subjugated to certain challenges that our friends in lower elevations don’t have.
Before going on an internet spending spree on seeds, ordering a bunch of packets of seeds that may, or may not work, it’s a good idea to know the obstacles you’ll be facing up front. Knowledge means you will make seed selections with a much higher likelihood of surviving. You could also head to your local garden center where they have knowledge of the area and are likely to carry seeds engineered for altitude. However, the seed alone won’t guarantee success. So let’s first address the sorts of challenges you’ll be facing and how it’s still possible to create a thriving urban flower or vegetable garden despite these would-be roadblocks.
Along the front range, and in the higher elevations of the mountain towns, there are certain realties we face when it comes to gardening. That doesn’t mean it’s not possible! It just means your chances for success profoundly increase when you’re prepared. So what will you be facing? Harsh weather, a shorter growing season, and differences in the atmosphere, just to name a few. Here we will address these challenges, and what to do to ensure your garden is a success.
What You Could Potentially Face in the Garden


Glaring sun, heavy rains, and 2 feet of snow showcase some of the harsh weather at Splinters and Sprouts
Harsh Weather
Whether you believe in global warming or not, it’s hard to argue with what we can see right outside our window. Those of us living in higher altitudes are seeing more extreme shifts in temperature and humidity, longer dry spells- meaning many areas stay in periods of drought for an extended period, longer heat waves, and every front range gardeners favorite- thunderstorms and hail. But how do these impact seed growing?
In Colorado where I live, fire season is now year round. If you’re unfortunate and end up living close to a wildfire the resulting ash and smoke can lead to profound damage in young sprouts. Smoke, for example, block the sun disrupting a plants ability to photosynthesize which leaves them weak. Any fallen ash clogs the plants pores (stoma) leaving it unable to breathe, or more appropriately, exchange gasses. The same is true even if you are nowhere near a wildfire. Several times throughout the spring and summer months we experience smoke blowing in from fires in the surrounding states. Just like people, plants don’t like it either.
Higher elevations are known for being a bit melodramatic with temperature swings. Sunny and 70° one day, snowing and -14° the next. It happens. spring and fall we are known as ‘Bipolarado’ as far as the daily weather variation is concerned. It is not unusual to have a 30° temperature change within a 24 hour period. It’s also been known to snow in summer! Large hail is another not-so-fan-favorite occurrence in the Centennial state. I have it on good authority that we aren’t the only state with the motto “If you don’t like the weather, wait 5 minutes, ” but Colorado certainly lives up to it.
Quick tip: The general rule of thumb is that for every 1,000 feet of elevation gain, the temperature decreases by 3.5 degrees.

Short Growing Season
Growing seasons at higher elevations are shorter. The main reason for this are the lower temperatures. This postpones spring thawing and inversely causes an earlier fall. Soil in the springtime takes a longer time to thaw and warm up. At some of the higher elevations the soil sometimes never completely thaws! What that means is if the soil is still solid, not only can you not easily dig, but the soil cannot absorb moisture. It’s a death sentence for young plants you do manage to get in the ground.
If you live in Colorado like we do then you’ve heard of ‘False Spring.’ False Spring is a period of time that is unseasonably warm in late winter and early spring months. This break in the cold tricks seeds into breaking their dormancy so that trees to start bud and flowers to bloom.
After months of cold and freezing temps, the warmth is typically welcome, but it can be detrimental to plants. Inevitably, freezing temperatures will return killing all the sensitive young buds and causing huge setbacks in the energy stores of plants and trees. Depending on the severity of the setback, a plant or tree might not have enough energy to flower, or bud, for the remainder of the season.
Atmosphere
The sun is brutal at my elevation. My area is known as a semi-arid mountain desert. Having 300 sunny days per year, it’s no wonder that it can be hot and dry. Not only do we experience higher UV radiation and tornado force winds, we also have a thinner atmosphere. So, less air. At these elevations the air pressure is also lower. This means that the atmosphere has less available carbon dioxide for photosynthesis and that limits a plants rate of growth.
Depending where you are located, geographically, also makes a difference. While it gets quite cold in places like Maine, they are situated more northernly longitudinally, so their days are longer than here in Colorado. Location really does matter!
What does all that mean? It means Colorado, and other high altitude places, appear to suffer from a hostility towards plants! I assure you, this is not the case. It just takes some know how. So it’s a good thing you’re here!
How do we combat the low temperatures, the shorter growing season, and the environmental stressors? Easily!
How to Successfully Garden in High Elevations
Luckily there are tried and true ways to help any would-be gardener successfully start seeds at high altitudes. Here are some of the tips and tricks we’ve learned over the years.
Give Your Seedlings a Healthy Start
Selecting the right seed types will make a huge difference in the overall success of your garden. If you are just starting out, new to the area, or wanting to try something new, I recommend purchasing seeds from a local garden center or nursery, or from an online seed company that specializes in high altitude seeds. Seeds that are cultivated specifically for the obstacles high elevation gardeners face have a much better chance of growing.
Look for seed packet labels that say things like ‘cold tolerant’, ‘short time to maturity’, or ‘cold setting’. Then you’ll know for certain that whatever is inside has been cultivated specifically for our shorter, colder, growing seasons.
Starting Seeds Indoors
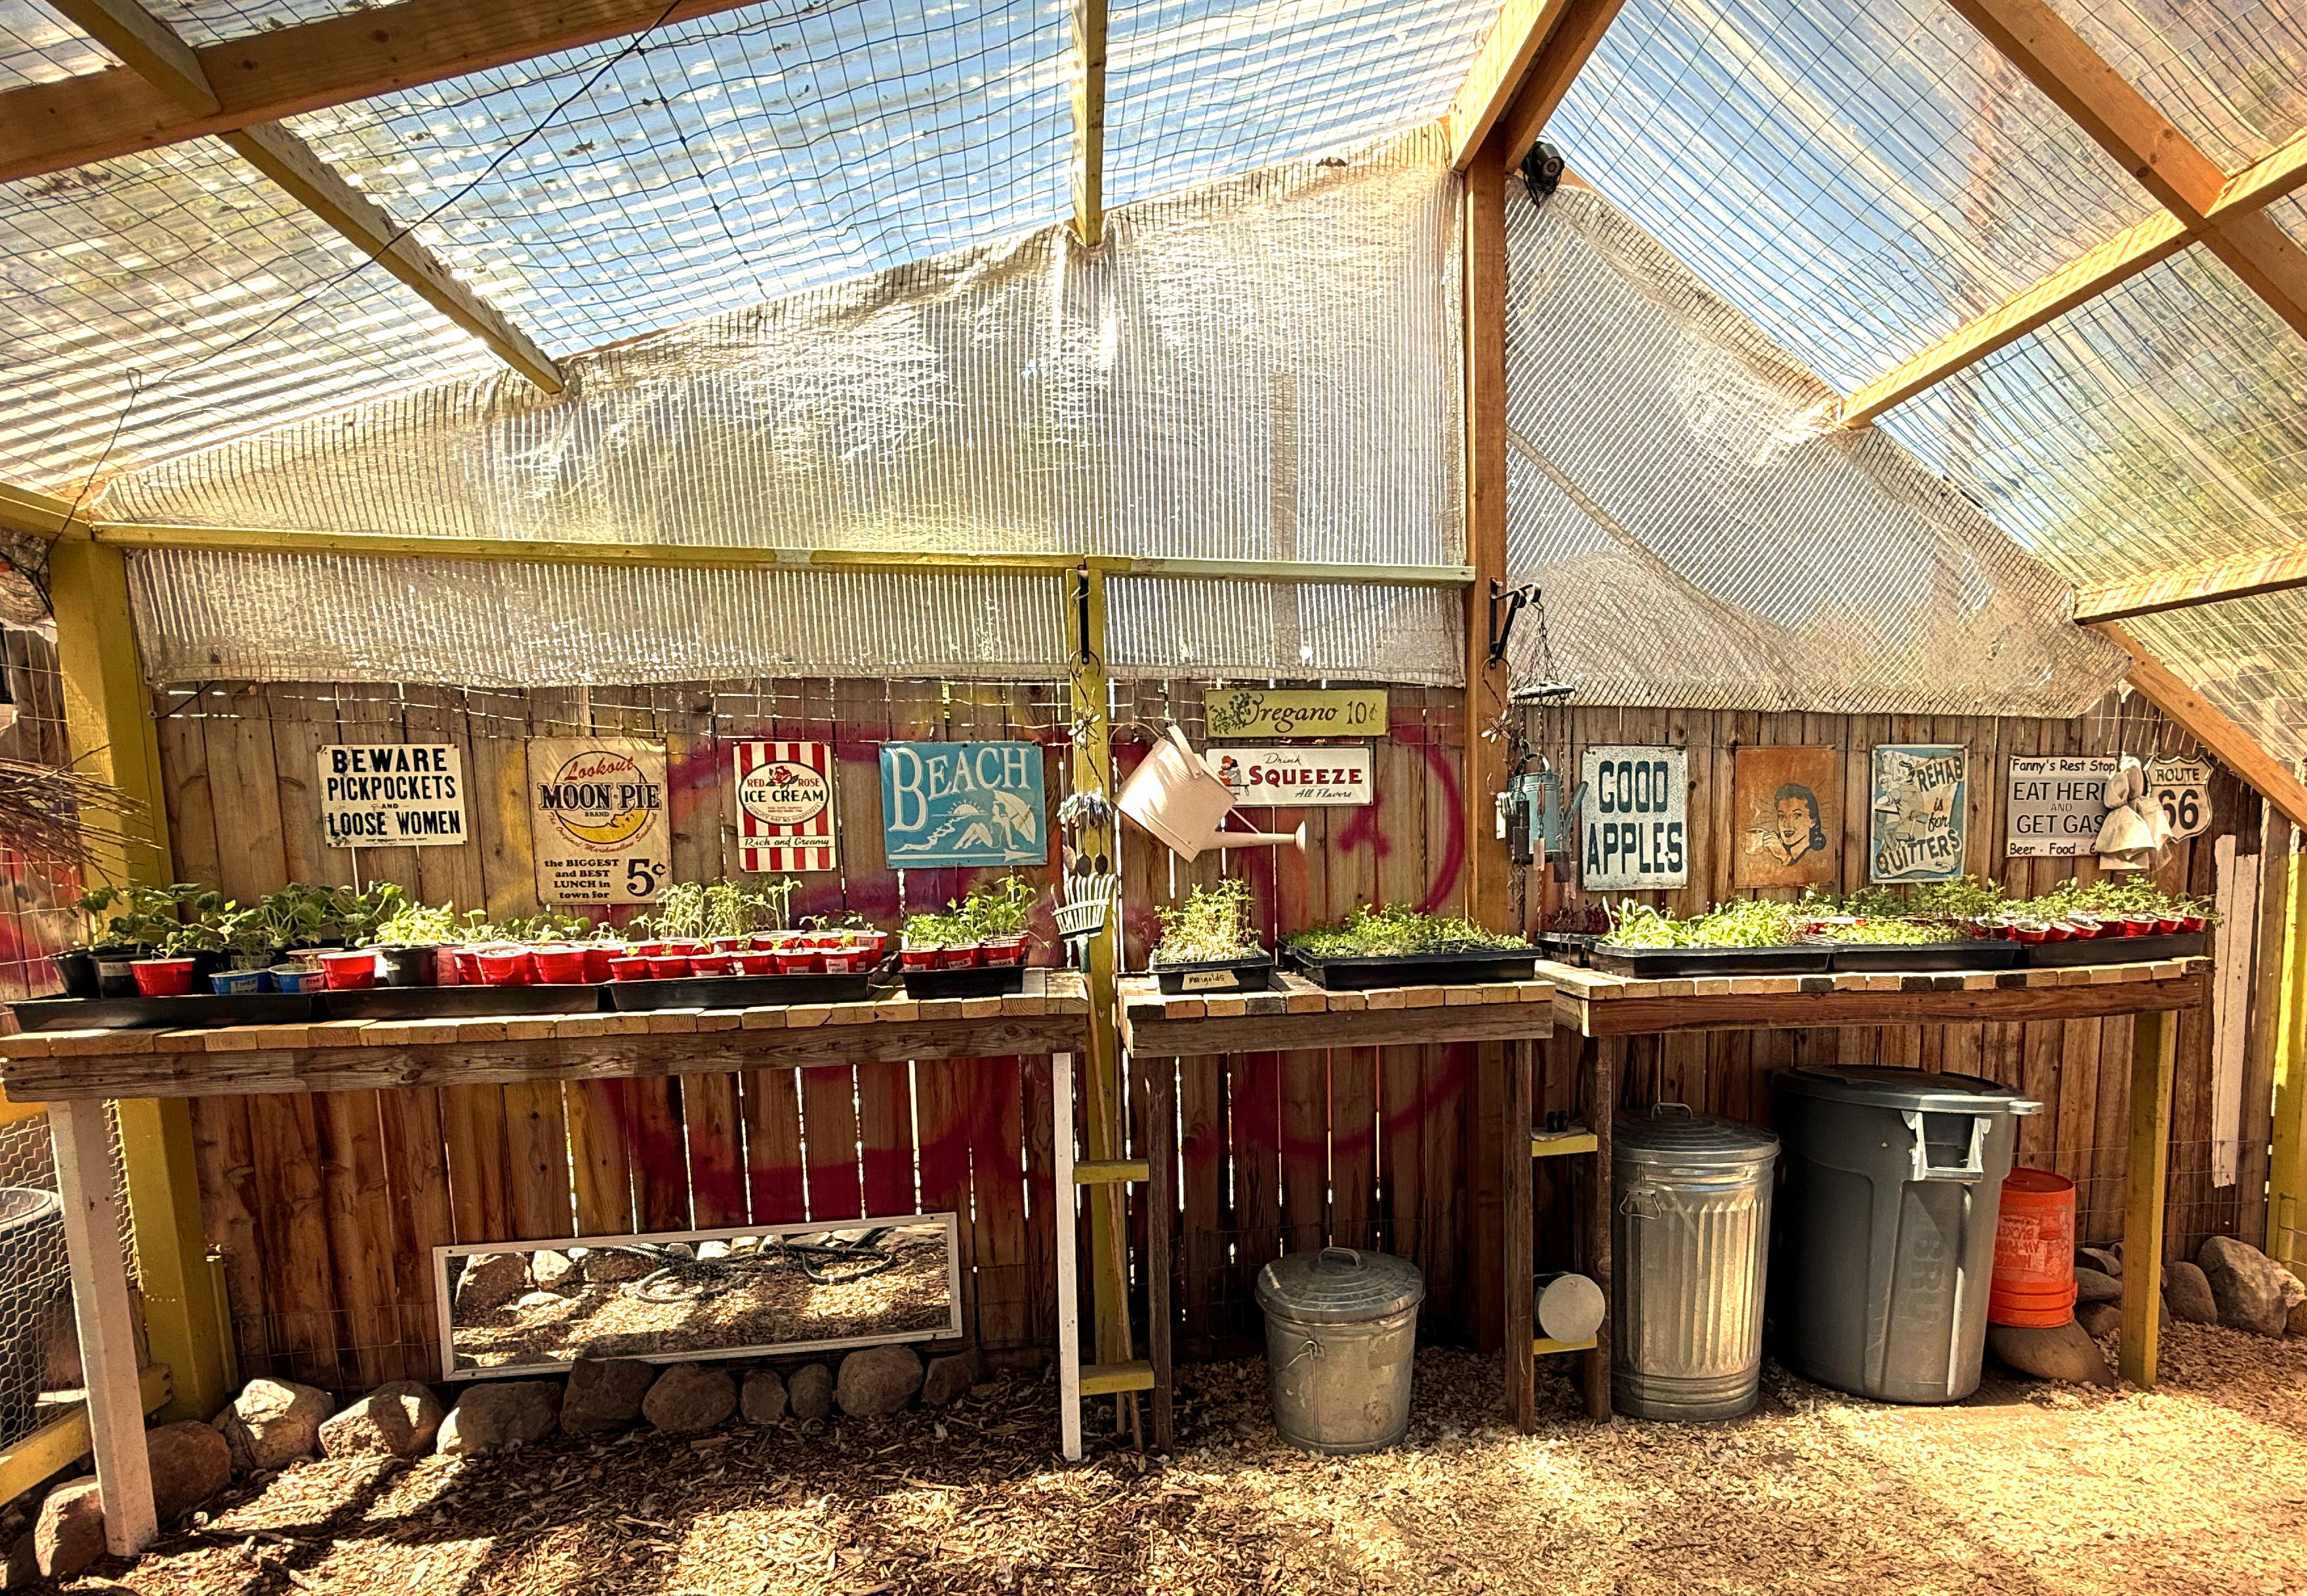
If you’re starting your seeds indoors you’ll want to pay attention to light, moisture, and warmth. Follow these tips so your seeds grow to be healthy and hardy:
- Don’t skimp on soil. During our tenure we’ve had soil that’s retained too much moisture, soil that didn’t retain enough, soil that always had root gnats, or soil that did not mention they included fertilizers. For these reasons we recommend using Sun Pro Sunshine Mix #4. It is typically sold in local garden centers and nurseries.
- Provide lots of light. Windowsills won’t cut it. We have grow lights set on timers to optimize their specific light needs. 12 hours is usually enough. You can always adjust when needed. There is a wide variety of available grow lights. Pick one that fits your budget, just make sure your lights have full spectrum lighting.
- Consistency is key with moisture. Don’t let your seed trays get too wet, or dry out. We use spray bottles and mist the soil. It’s never let us down.
- Use a fan. Young sprouts benefit immensely by having a light breeze blowing on them for a few hours a day. Think of it as plant exercise. This helps their stems strengthen making them hardier and more likely to survive when transplanted outdoors.
- Harden off your plants. Think of this as taking them on field trips to your yard for increasing intervals daily until the last frost date has passed, and you’re ready to plant!
The hardening off process should begin about 1-2 weeks before your last frost date. If you don’t know when that is in your area, the Old Farmer’s Almanac has an easy to use calculator! Enter your zip code, and it pops right up!
How to harden off your seedlings
- Days 1–2: Place seedlings in a shaded, sheltered, and wind free spot for up to 2 hours before bringing them back inside.
- Days 3–4: Seedlings can be exposed to dappled or morning sun for 3-4 hours before going back inside.
- Days 5–6: Leave seedlings outside for half the day. Make sure they get some direct sunlight.
- Days 7-10: For these 3 days, leave them out longer and longer until they’re out for the entire day.
When your seedlings can remain outdoors for the entire day you can begin leaving them overnight. However, if temperatures are predicted to drop below 45° bring them back inside. Remember that watering is key for your young sprouts. Make sure the soil is moist before setting your seed trays out. They will dry out faster when they’re outdoors.
Frost Covers
Since higher elevations are famous for unexpected frosts, having a plan, and a way to protect your plants ahead of time, will save you from scrambling. There are a countless ways to protect your plants when a late frost might be coming your way. Here are some that we would recommend:
- Sheets or blankets
- Frost clothes made specifically for protecting plants from hard frosts
- Burlap
- Cardboard
- Upside down Buckets
The main idea behind frost covers is to make sure you’re using a breathable material. Plastic is not a breathable material and not recommended. Any moisture on the plants underneath the plastic doesn’t have anywhere to evaporate leaving it to freeze on the plant when temperatures drop. Plastic doesn’t retain heat either. Instead, it traps the cold air in. If you accidentally leave it on when it warms up, the plastic can actually burn the plants. So grab some old sheets or plop some buckets over them! Make sure to water plants before covering them.
When we first started out we built a hoop house for our garden. It worked well for us for many years! We eventually upgraded our setup but still utilize the hoop house idea on a smaller scale for protecting our raised beds.
Quick tip: If hail is predicted to hit your area, these things also work well to protect your plants from hail damage.

Raised Beds
Raised beds have been around since medieval times and for good reason. They are a gardeners best friend. High elevation gardening is no exception. Raised beds have a number of benefits. First, the soil warms up faster in a raised bed than it does in the ground. This can extend the growing season by 2 weeks!
One trick for heating up the soil, either in-ground, or in a raised bed is to lay a dark colored tarp, or dark plastic on top of the area you’ll be planting. Planting seeds in cold soil will cause the seed to remain dormant, rot, and eventually die. Some of the hardier seeds might make it, but it’s best just to give the earth a bit of help to make sure your seeds remain viable. Any of your starters will go into shock if planted in cold soil, so warm it up!
Location, Location, Location!
Yep, it really does matter where you plant. Recall that it takes light, moisture, and warmth for seeds to sprout. In high altitudes the weather can be drastically different on opposite ends of the same city. The topography can be wildly different within the same neighborhood. So find the best spot in your yard. Our yard happens to have a very sunny northern spot and some very shady southern spots.
Pay attention to how your yard might slope. The bottom of a slope might get too much water, or get washed out every time it rains. Are you at the bottom of a hill in your neighborhood? If so, cold air sinks so you’ll have slightly colder air than your neighbors at the top of the hill.
Other Helpful Tips for a Beautiful and Bountiful High Altitude Garden:

- Mulching is your friend. We use chip drop quite frequently and we love it. If you have it available in your area, I highly recommend signing up. You can’t request how much mulch you want, so be prepared to get anywhere between 10-20 yards of mulch.
- Consider releasing beneficial insects for pest control. Lady bugs can be like a viking slaughter if you have an aphid outbreak
- Neem oil, or neem powder can help combat over 200 different pests and fungus organically.
- Praying mantis are another great predator of pests.
- Diatomaceous earth is another wonderful organic pesticide. It’s in powder form that you sprinkle at the base of, and on your plants.
- Get your soil tested. Local garden centers carry at home tests and can help with any soil amendment needs you might run in to.
- Water when it’s above freezing. At high altitudes we need to provide our gardens with winter water. Your plants will thank you.
- Rinse your plants if you encounter excess smoke and ash from wildfires. Make sure they remain hydrated too. This will help them until the air clears.
Now You’re Ready to Grow!
Despite the obstacles high altitude gardeners face, it really is possible to create a beautiful space! There are multitudes of work arounds for every challenge we face. Being prepared for these obstacles will keep your garden thriving throughout the season!
We hope that you now feel ready, able, and excited about creating a beautiful and bountiful high altitude garden! We’d love to hear your seed starting secrets, or answer any questions you may have in the comments section below!

Grow where you live. Build what you need. Learn as you go.